Showing posts with label orange. Show all posts

Tuesday, March 12, 2019

Irish Soda Bread & Citrus Honey Butter

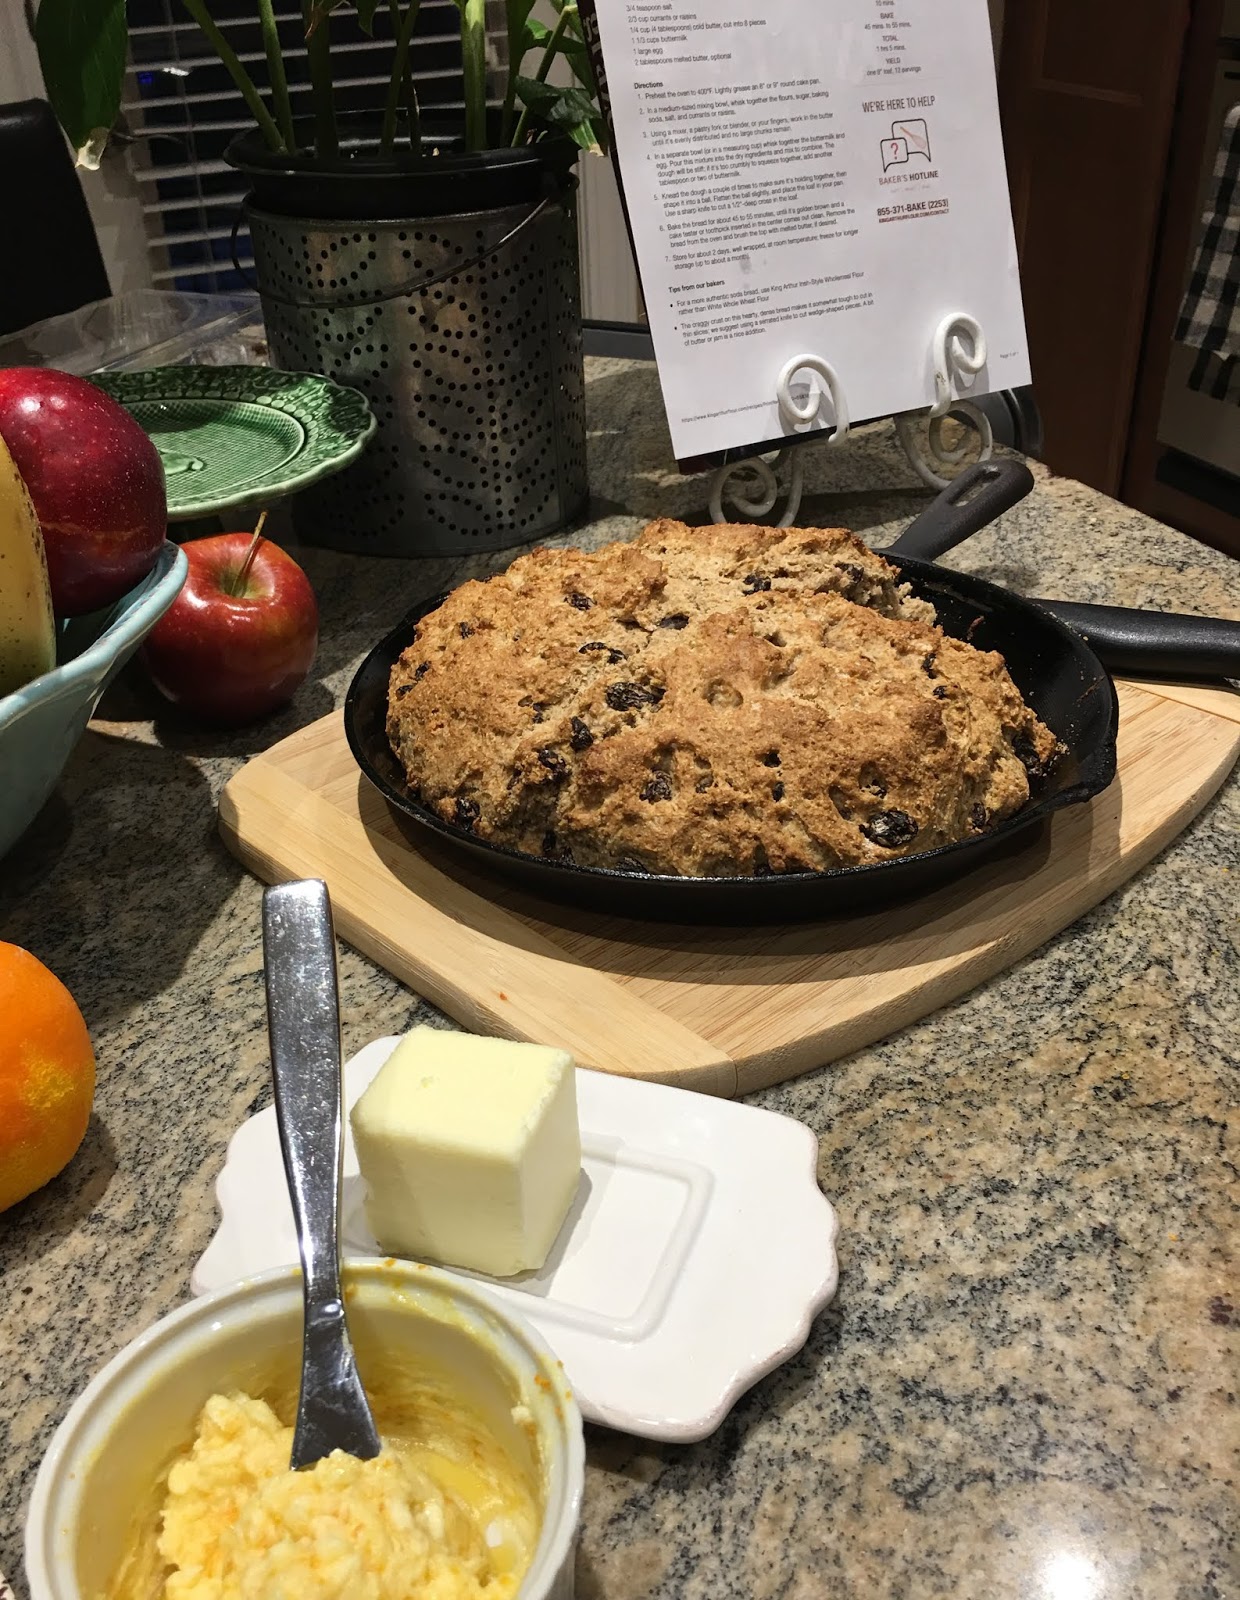
357. Its March and Irish Soda Bread can be found in every grocery store, bakery and Instagram post.  So I received this email from King Arthur Bread Co and they featured an Irish Soda Bread.  I have tried many different recipes in the past but have never settled on one favorite.  So, I put this recipe to the test.  They claimed it was closest to an authentic Irish Soda Bread.  It was delicious and the aroma was intoxicating!
You can find the recipe link Here .  But, I made a convenient recipe cards for you to print out.
                     To save recipe select, drag and drop onto your desktop.  Print as a photo.


I mixed the dough in a large bowl and used my hands for the process.  Just prepped everything ahead.  The dough was stickier than the recipe described but I did not add anything to change the texture.  I baked it in a 9" round cast iron pan.  Because cast iron bakes hotter I adjusted the baking time 
to 35 minutes but could have baked for 30 minutes.  It was a bit dry but the taste and texture were lovely.
I served the bread with butter, honey, lemon curd and made a mixture of Orange Honey Butter.

This is a recipe I will be returning to.  Thanks King Arthur Flour Co. for developing a beautiful Irish Soda Bread.

"Cooking and Baking is both physical and mental therapy."  ~ Mary Berry


Friday, June 27, 2014

Cranberry Orange Scones

301.  Hot steam floating upwards from a freshly baked scone.  Filled with red cranberries and flecks of orange zest laced throughout each pillow.  A recipe that comes out perfect every time...that is what this Cranberry Orange Scone recipe is all about!
 
 The ingredients are simple and your process must be simple as well.  A light hand makes a great scone.
 You can find the recipe at Taste of Home here:   Cranberry Orange Scones
 Print Recipe Card Here
 Light crumbly texture is what you are looking for.
 When the dough pulls together you can feel this recipe working for you.
 I press out the dough by hand and form it into a square or circle.  Today I used my Pampered Chef Crinkle Cutter  to create a beautiful edge.
 I cut them in smaller portions for a Ladies Afternoon Tea.
 This recipe will make 8-10 large scones or 14-16 smaller scones.
 Line the baking sheet with parchment then brush with heavy cream.
 You will see the scones double in size and the texture, once baked is flakey, light and moist.
 No need for butter or jam, these scones are delicious right out of the oven.
"I worship scones and danishes.  If I never had another meal I wouldn't care as long as I could eat pastries and jelly donuts."
~Gene Simmons

Sunday, December 4, 2011

Orange Pecan Pie

245. Pecan pie is an absolute favorite at this time of year for me. Toasted pecans smothered in sweet yumminess! I have a hard time resisting!
I have tried many recipes in the past but have never been completely happy with the outcome. The filling was either too runny or too sweet. They always lacked a good balance of pecans to sweet filling. This year I found a new recipe and I am keeping it! I found it on the Taste of Home website (here) and is so easy but produces a perfect pecan pie. I changed mine up a bit by adding orange zest. It gave a beautiful light hint of orange flavor but not enough to change the wonderfulness of the pecan pie. Now, I warn you, don't look at the calorie count per slices...you might be shocked...but it's the holidays, so splurge a bit.
Orange Pecan Pie

1 recipe pie crust, rolled and placed in 9" pie plate
1 stick butter (1/2 cup), softened
1 cup sugar
3 eggs, room temperature
3/4 cup light corn syrup
1 teaspoon pure vanilla extract
1/2 teaspoon orange zest
1 cup pecan halves

Cream together butter and sugar till light and fluffy about 3 minutes. Beat in eggs one at a time. Add corn syrup and vanilla. Pour into pastry crust. Sprinkle orange zest over top of liquid filling. Run a knife gently through the top of the filling to distribute the orange zest over filling.
Arrange the pecan halves over the top in a pattern of your choice.
Bake pie at 350° for 50 minutes or till center is set. (The Taste Of Home recipe calls for at 375 oven for up to 55 minutes. This causes the pie to burn.) You can cover the edges with foil during the last 15 minutes to prevent over browning. Cool. Serve with whipped cream. You can add orange zest to the whipped cream for added flavor.
The pie comes out very toasty. The pecans sink into the filling a bit but the flavor excuses this small problem. Oh...I wish I had a piece right now...but the pie disappeared!

"When someone asks if you'd like cake or pie, why not say you want cake and pie?
~Lisa Loeb

Wednesday, February 3, 2010

Easy Tiramisu

134. Tiramisu is such a deliciously light, sweet and coffee rich dessert. While shopping, I picked up a bag of lady finger cookies used in making Italian desserts. They are not very sweet but pare with so many dessert flavors and are very versatile.
In order to make a traditional Tiramisu you need to use raw eggs and my girls are not fans of meringue or the after taste of a raw egg. So I found a very simple recipe from Jamie Oliver's

Quick Tiramisu

Epicurious | February 2006

By Jamie Oliver
Jamie's Italy

Editor's note: The recipe and introductory text below are from Jamie Oliver's book Jamie's Italy.

Tiramisù veloce

There are lots of different recipes for tiramisù — this one includes my favorite twists on the original and it works really well with those bought ladyfingers. Try it — you'll get fantastic results. The word tiramisù translates as "pick-me-up."

Yield: Makes 4 servings
ingredients
15 ladyfingers
1 cup good strong coffee, freshly brewed
4 tablespoons sugar
1 pound 2 ounces mascarpone
2 vanilla beans
1/2 cup vin santo or sweet sherry
Zest and juice of 1 orange
3 1/2 ounces best-quality bittersweet chocolate (70 % cocoa solids)
preparation

Get yourself a medium deep bowl or dish about 8-10 inches in diameter and arrange your ladyfingers snugly in layers on top of each other. Sweeten your coffee with 2 tablespoons of the sugar. Pour the coffee over the ladyfingers, making sure the top layer is completely covered — you'll see the coffee being sucked up by the ladyfinger. While that's soaking, put your mascarpone into a bowl and whisk it up with the rest of the sugar.

Score the vanilla beans lengthwise and scrape the seeds out into the bowl of mascarpone, keeping the beans for making vanilla sugar if you want to. Continue whisking and as you do so, drizzle in the vin santo or sherry. You want to get the mixture to a loose, shiny consistency. If it's still too thick you can use a little of the orange juice to loosen it before you squeeze the rest of the juice over the ladyfingers. Smear the vanilla mascarpone over the ladyfingers and either grate all the chocolate over it or make shavings using a knife or a peeler. Sprinkle lightly with a little finely grated orange zest and keep in the fridge until you're ready to serve.


I collected my ingredients and decided to make individual servings and cut the recipe into 1/4. Then, I selected beautiful glasses for each individual serving. These glasses were in a Goodwill Store several years ago for only 25 cents each!

I used 6 lady finger cookies and broke them in half.
I poured only enough coffee to saturate the cookies.
I squeezed fresh orange juice directly over each serving.
Mixed up the Mascarpone, orange extract, vanilla and 1 Tablespoon sugar till smooth. Then covered the lady finger base with the creamy, sweet wonderfulness...which I could have eaten with my fingers...and getting every last little bit scraped from the bowl. So Good!
While the dessert was chilling in the refrigerator, I melted semi-sweet chocolate, spread some on a cookie sheet covered in tin foil and piped the remainder from a zip lock bag to make shapes. I then placed the mini cookie sheet in the freezer.
To finish the dessert, I dolloped whipped cream on top, made chocolate curls and orange zest.
It was simple, fun and looked so beautiful when it was all together.
The chocolate heart was just an added touch.
What a nice ending to a long day and a wonderful "pick-me-up" dessert.

And the Tiramisu was a hit! But it disappeared too fast.

"All I ever wanted to do was to make food accessible to everyone;
to show that you can make mistakes - I do all the time - but it doesn't matter."
~ Jamie Oliver

Wednesday, June 17, 2009

Orange Sour Cream Cake


84.  I love to bake bundt cakes and really get excited when I find a new baking tool or bundt pan in my travels. Some people refer to this pan as a "tube" pan.   My most favorite pan is the one I picked up in a yard sale for $1.00 while vacationing in Door County, Wisconsin.  Our dear friends, Chris and Al, invited us to join them many years ago, to spend some "RnR" time with their family.  Our oldest daughter was 3 years old, (She'll be 22 this week!).  We stayed in a little cabin next to the water, battled with a mouse who came to visit us each night, picked cherries that were in season at the time and made wild flower wreaths to sell in our craft shop when we returned home.

During a walk, the one day, we passed a yard sale with items laid on blankets and odd tables and chairs...and that's when I purchased this bundt pan.  It brings back sweet memories each time I use it!

So, today, I am making an Orange Sour Cream Cake recipe, which turned out moist and very flavorful!  I added walnuts to the batter as well.  I found this recipe on the "eating out loud" Blog.   


Orange Sour Cream Cake 
3 cups flour
1/2 tsp. salt
1 tsp. baking soda
1 tsp. vanilla
8 oz. butter
1 1/2 cup sugar
3 large eggs
1 cup sour cream
1/2 cup fresh orange juice
3 tablespoons fresh orange zest & ½ cup ground walnuts
Orange Icing
1 1/4 cups powdered sugar
1 tsp. zest
2-3 tablespoons orange juice
Preheat oven to 350, prepare pans by greasing them and dusting with flour.
Cream together the sugar and butter. Slowly add the sour cream, eggs and vanilla until thoroughly combined. In a separate bowl, sift together the dry ingredients. Slowly add dry ingredients, and mix till smooth. Add orange juice and zest, mix to combine. Place into a greased and floured "bundt" or "tube" pan. Bake for about 1 hour or until cake tests done. If baking in 2 pans, bake for about 30-35 minutes or until cake tests done.
Allow cake to rest 5 minutes before removing from pan.
Let cake cool completely before drizzling Orange Icing over.

It is delightful with a cup of coffee or tea!  

"Don't wait for people to be friendly, show them how. " ~Author Unknown

Saturday, January 3, 2009

Walnut-Orange Bûche de Noël


23.  Do you shy away from challenging tasks?   I seem to gravitate to them.  But I must admit, my patience and tolerance levels have grown over the years.  Where once I would have thrown up my hands and walked away in tears, now I want to figure it out and accomplish the impossible.
On New Years Day a new challenge was taken on...a recipe 
for "Walnut-Orange Bûche de Noël" from the Martha Stewart Holiday Magazine 2008.  
You can find the recipe here.  It is a deliciously wonderful challenge!!!  My family enjoyed this tremendous treat while we played Scatergories and sipped espresso. 
 It did take a great deal of time, because of the steps involved...but it was so rewarding and absolutely delicious !
Take on a challenge this New Year...don't run and hide...make a new recipe...begin to write that book you know is in your mind...run in that marathon...read a whole book!  Or just challenge yourself to tell your family you love them every day.

"You may be whatever you resolve to be.  Determine to be something in the world, 
and you will be something.  'I cannot', never accomplished anything;
 'I will try', has wrought wonders." 
J. Hawke

LinkWithin

Blog Widget by LinkWithin